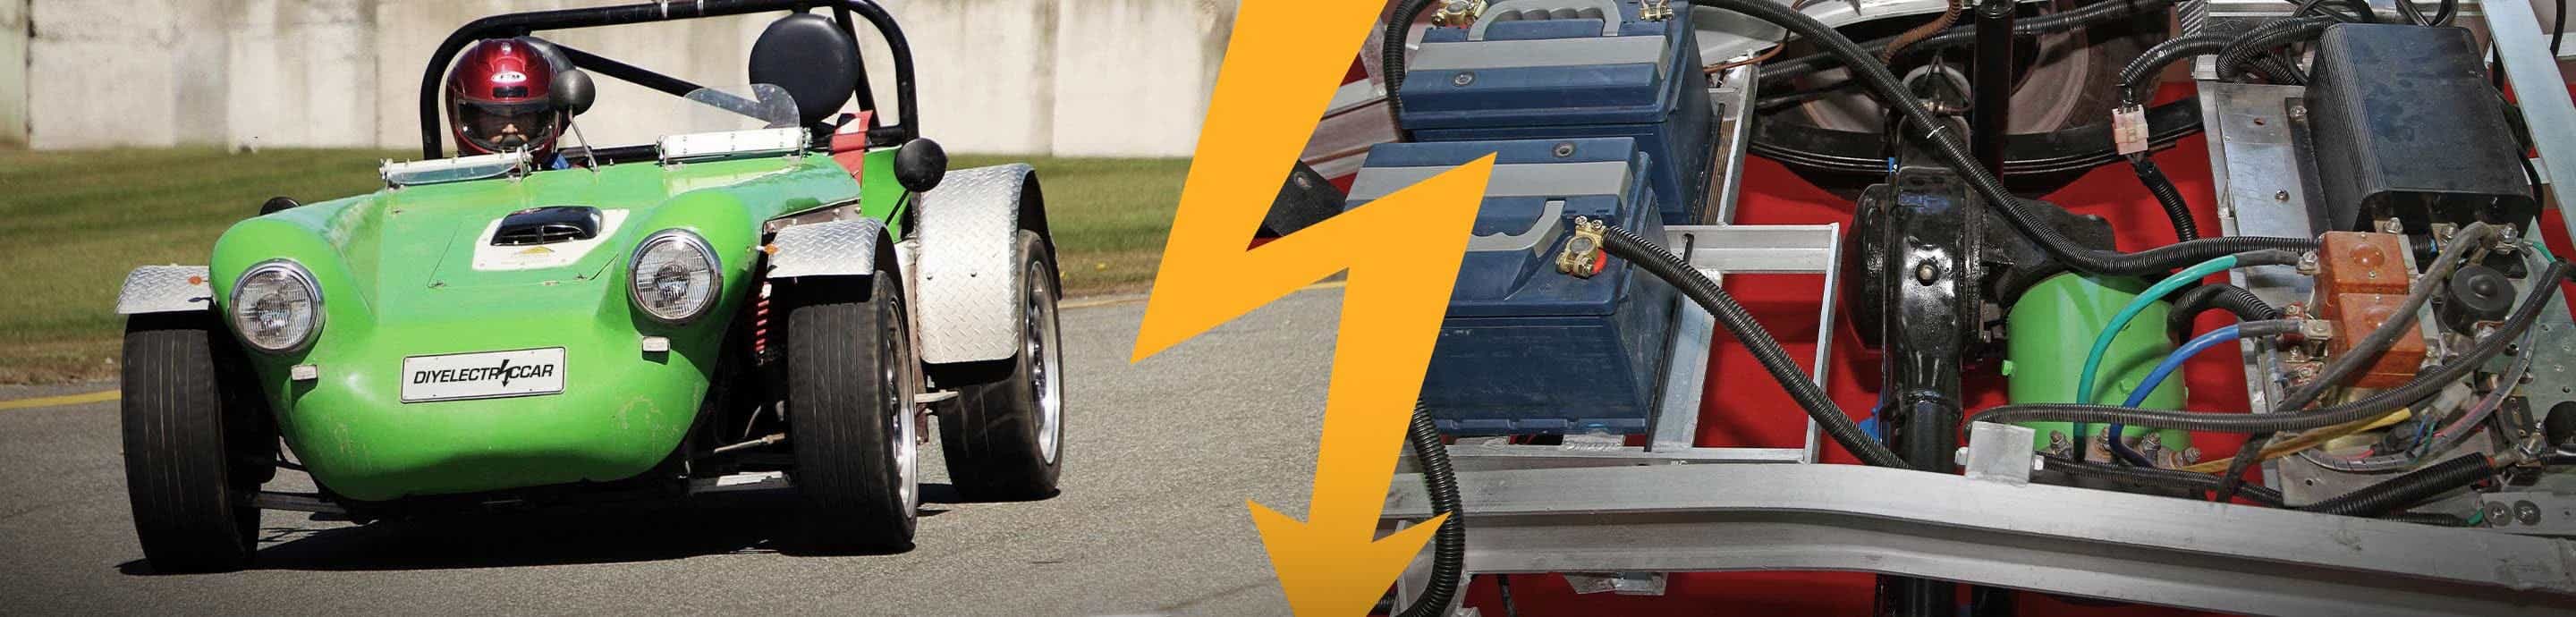
DIY Electric Car Forums banner
141 - 160 of 254 Posts
Discussion starter · #141 ·
Nice. You are not afraid of such big voltage. ?? What charger and dc-dc you are using?
The voltage is a bit scary, yeah. That's the main reason I'm putting so much effort in to my BMS (including isolation monitoring).

As for the DC-DC, charger, etc, let's just say I figured out a way. I don't remember if I've described it in this thread already or not, but if not, I'll go in to more details once it's up and running.
 
Discussion starter · #142 ·
More progress on the rear battery installation this week. All the aluminum metalwork in the rear is done! All that's left is to put the skins on the lower battery boxes, seal it up, prime and paint. Then the batteries can finally start going in and getting bolted down in their final homes (in the back at least). Here's a photo of the rear battery support/clamping structure completed (sans batteries). I had the upper battery installed with this at one point and it's very secure. The straps bolt down along the rear edge, wrap over the top of the battery, then get cinched down by 4 bolts along the forward edge. The lower batteries are held in place by the double "A-frame" structure in between. All very tidy.

Image


Under the car, the pass-throughs for the coolant to the rear battery and the high voltage cables has been cut and fitted. The coolant hoses pass through rubber grommets and the HV cables pass through glands. There will be nipples coming off the main tubes at an angle to meet the hoses. Inside the car, the hoses will be split 3 ways, run through the three batteries, then rejoin before passing through the sheet metal to the return pipe. There will be a service disconnect mounted to this box as well. BMS communications will be routed inside the car as it's all low-voltage.

Image


The goal for next weekend is to get the battery boxes skinned and painted, maybe some of the work under the car routing the coolant and HV cabling. The batteries will finally be installed the weekend following that.

The goal right now is to have the car running before its registration is due in July. It feels like we're on track to hit that goal, if things keep progressing as they have been.

Bonus photo from under the car, looking forward. Still lots of stuff to pin in place.

Image
 
Discussion starter · #143 · (Edited)
This weekend had a bit of a milestone on the EV project. The rear battery boxes are now closed in and mechanically complete. A coat a primer has been applied, and some seam sealer and a coat of paint will be going on it over the next few days so that it's ready to accept the batteries this coming weekend! Here are some photos:

Image

Image


Aside from the front battery box, the major fabrication work is now complete. Lots of little things still to do, but this rear box has been a slog and I'm glad it's done. Hopefully from here on out progress will feel more steady and frequent. Little things will go by in quick succession.
 
Great work. Am still plugging away at the GS450h gearbox. Such a pity we're not allowed to cut into the chassis of the car in Ireland. Would solve so many problems!
 
Great project, I've been inspired by your work bigmouse.

I was trying to calculate the performance of the LS600h drive in your application to see if it would be a good basis for my own project.

Launch, acceleration and top speed look OK, but it seems that the hill climb performance at 60mph is only about 6%, or 3 degrees, (see attached, using Lex303Ci profile). Although this seems inline with US freeway standards, it is a bit on the edge.

Obviously my spreadsheet could be wrong, so I was wondering if you had made any estimates?
 

Attachments

Discussion starter · #146 ·
Great project, I've been inspired by your work bigmouse.

I was trying to calculate the performance of the LS600h drive in your application to see if it would be a good basis for my own project.

Launch, acceleration and top speed look OK, but it seems that the hill climb performance at 60mph is only about 6%, or 3 degrees, (see attached, using Lex303Ci profile). Although this seems inline with US freeway standards, it is a bit on the edge.

Obviously my spreadsheet could be wrong, so I was wondering if you had made any estimates?
I haven't looked at your spreadsheet, but I did a quick calculation for my conversion to figured this number out.

At 60mph, MG2 in my car is spinning 5365rpm in the high gear (0.31m tire radius, 3.38:1 final drive ratio, 1.9:1 gear ratio).
Judging from the ORNL paper, MG2 alone has a continuous (>20min) power rating at at this speed of around 50kW. At that speed, 50kW equates to 89Nm at the motor.
At 60mph, I plan to be in the high gear (1.9:1) so the continuous torque available from MG2 at the driveshaft is 169Nm.
The drag (Aero + Rolling) on a level surface at that speed will be 530N
This translates to about 50Nm of torque at the driveshaft.
This leaves 119Nm of continuous torque available at the driveshaft.
That torque is enough to climb a 4.47 degree (7.8%) slope at speed.

That seems to agree somewhat with your number, assuming you also ignored MG1, which will probably add another 50% of that torque continuously.
 
OK, I was using only power numbers as ORNL specs those for both LS600h and Camry motors at about 25kW@5000rpm for continuous use, (though as you say 50kW for 10mins, and 140deg stator temp,which sounds pretty high to me).

The 100km/h cruise power is about 18kW, so that leaves 32kW (cont) to provide climb, so

32kw=100km/h*m*g*sin(climb_angle)

That's how I get 4 degrees or 8%.

Anyhow sounds as if we are about in the same ballpark, many thanks
 

Attachments

Discussion starter · #148 ·
(though as you say 50kW for 10mins, and 140deg stator temp,which sounds pretty high to me).
I'm assuming that these have class H insulation in the stators. I'm not sure how safe an assumption that is, but it would make sense for an automotive application. Class H insulation is rated to 180C.
 
I'm assuming that these have class H insulation in the stators. I'm not sure how safe an assumption that is, but it would make sense for an automotive application. Class H insulation is rated to 180C.
I wonder what the neodymium magnets have to say about that. Most types are long dead at 180C. But Lexus/Toyota is probably/hopefully using very high-temp types.
 
Discussion starter · #150 ·
I wonder what the neodymium magnets have to say about that. Most types are long dead at 180C. But Lexus/Toyota is probably/hopefully using very high-temp types.
The magnets are buried in the rotor. They should be somewhat insulated from the stator temperature. I would imagine that PM rotors run cooler than induction motor rotors since there's no current flowing through them. But that's just an educated guess.
 
The magnets are buried in the rotor. They should be somewhat insulated from the stator temperature. I would imagine that PM rotors run cooler than induction motor rotors since there's no current flowing through them. But that's just an educated guess.
Interesting question. BLDC motors for sure, IPM rotors should run cooler than induction, but how much? I'll try to investigate a bit into this topic.
 
Discussion starter · #152 ·
​Made some good progress on packaging the BMS PCBA today. Putting my CNC mill to good use!
Machined the end plates for the extruded aluminum case for the BMS. If I had some engraving bits handy, I'd have done some engraving as well. I'll be using the same case for the gateway ECU as well.​
Image
​
Image
​ I also cut a piece of plastic out for the low voltage pass-through on the inverter. I can't use the original connector because couldn't get ahold of the connectors from the original control board. The inverter will have pigtails bringing out the LV connections from the control board to some waterproof connectors on the other end. I cut the plate from some cutting board material with inset hexagons to hold the nuts on the back side of the cable glands. They snap in place with a satisfying click. How did I ever live without one of these machines?
Image

​
Image
​
Image
​
More updates to come tomorrow!
 
Discussion starter · #157 ·
Thanks everyone. The toolchain is SolidWorks -> CamBam -> Pronterface. My CNC runs from a 3D printer controller so I use a 3D printer interface to drive it. Works very well with only minor tweaks to the firmware.
 
Discussion starter · #158 ·
The rear lower batteries are mounted and bolted in place. The upper battery has been test-fit and seems to fit nicely.

The lower battery boxes have been sealed and painted. I applied some sound deadening material to the broad panels to keep them from vibrating. The before and after "knock" test of the sound is quite profound. I think it will work nicely.

Image

Image


Once that was done, the lower batteries were lowered in place (with hoses attached) and bolted in. Very tidy! (pictured here without the clamping braces).

Image


I started routing the coolant lines for the lower batteries. Will need to buy/make some couplers to join the two upper hoses to the tee piece. The lower hoses are already connected (the ones with the hose clamps).

Image


Below is a test fit of the upper battery and its securing structure. It's not bolted down in this photo, but is shows what the final configuration will be. The coolant ports are at the top in this configuration. Long hoses will loop around to meet the tee pieces that will attach to the hoses coming in through the grommets just behind the battery.

Image


The BMS wiring is dead easy! I just have to hack up the original low voltage harness and extend it to reach the main BMS ECU (see previous update) which will be inside the front battery box. I've already stripped most of the tape and loom from the harness where required. The hardest part will be running the extended harness wiring up under the hood.
 
Cooling loop in parallel? Same diameter for the parallel tubes and the main tube... I'm not sure it's a good idea.
If it's easier for the coolant to pass on one side the temperature between each side could be different.

Hope you will monitor cells temperature at different places.
You will let us know.
 
Discussion starter · #160 ·
Cooling loop in parallel? Same diameter for the parallel tubes and the main tube... I'm not sure it's a good idea.
If it's easier for the coolant to pass on one side the temperature between each side could be different.

Hope you will monitor cells temperature at different places.
You will let us know.
The batteries were originally plumbed in parallel in the Volt. I'm paying attention to the orientation of the tee-adapters to ensure that each pack gets the pressure that I want. The top battery will get half the incoming pressure, and each of the lower batteries will share the remaining half evening (a quarter each). This is obviously assuming idealized flows/pressures which may not be the case. I'm crossing my fingers that the non-idealities will be roughly the same for each module. The coolant passages under the car are very large diameter relative to the hoses, so the flow to the rear should be relatively unrestricted relative to the front (it will have its own pump anyway).

My BMS does monitor the temperatures from the original Volt BMS, so I'll be aware of any imbalance that occurs.
 
141 - 160 of 254 Posts